Technology
How to Clean Install macOS 12 Monterey?

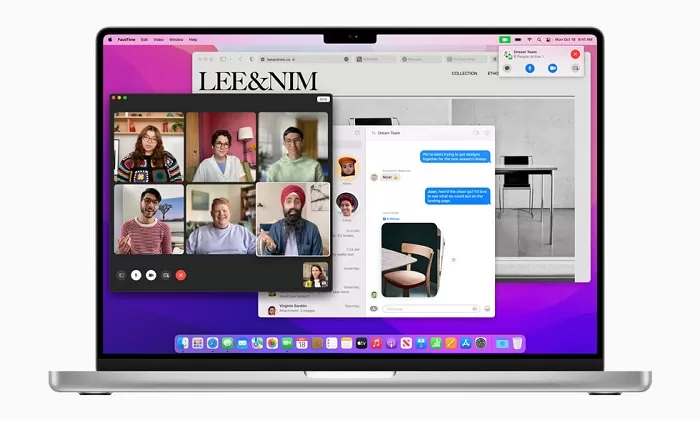
The eagerness to acquire macOS 12 Monterey is at optimum level among Mac users. The public release of the latest macOS will be announced soon. As expected, Apple has further improved the macOS features, bringing the Mac users closer to the iOS experience. Some of the exciting features of macOS 12 Monterey include new and improved FaceTime, updated Safari for better workflow, Universal Control, live text, shortcuts, and much more.
Mac Systems that Support macOS 12 Monterey
Before you get all excited and prepare your Mac for this new macOS installation, have a look at the systems that will support the latest macOS Monterey.
- Mac Pro: Released in late 2013 and later versions.
- Mac mini: Released in late 2014 and later versions.
- MacBook: Released in 2015 and later versions.
- MacBook Air: Released in early 2015 and later versions.
- MacBook Pro: Released in early 2015 and later versions.
- iMac: Released in late 2015 and later versions.
- iMac Pro: Released in 2017 and later versions.

What is a Clean Installation of macOS?
Clean install of an operating system is like getting rid of the past and giving a fresh start to your system. In simple words, clean installation is an installation of the macOS Monterey on an erasedMac drive.
If your system has been running slow and has become cluttered with old apps and files, then clean install the macOS 12 Monterey. The only drawback in clean installation is the potential data loss. But you need not worry. Before you install new macOS, get hold of the Stellar Data Recovery Professional for Mac. Even if you lose data, you can easily recover it using the software.
Steps to Clean Install macOS 12 Monterey
Every time Apple releases a new macOS, it involves three stages. The same is applicable to Monterey. These three stages in case of macOS 12 are:
- Stage 1: Developer Beta (June-July)
- Stage 2: Public Beta (July-September)
- Stage 3: Public Release (October expected)
You can avail the public beta version at present. If you don’t want to wait till the public release, here is a step-by-step process for clean installing the macOS Monterey.
Step 1: Backup your Data
Before taking any steps, make sure to backup your existing data. You can use iCloud or Disk Utility in Mac to create a backup of your system. You may also use the Time Machine feature and create a backup on an external drive.
Note: If you are unable to take the backup, grab a data recovery tool and create a bootable recovery drive on a USB flash drive. This feature is available in Stellar Data Recovery Professional for Mac.
Step 2: Free Up Space by Cleaning Files from your Mac
As you will install a new macOS, you will need sufficient space to be available on your Mac system. You can start freeing up space by deleting the cache, junk, duplicate, and unnecessary files.
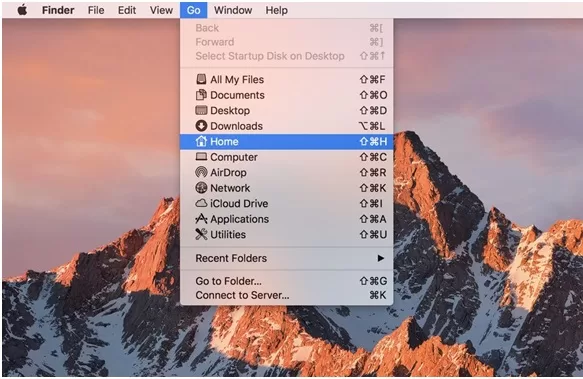
- Open the ‘Finder’ from Dock, click ‘Go’ on the menu bar, and then choose ‘Home’.

- Click on the ‘Cog Wheel’ icon and choose ‘Show View Options’.
- Select the ‘Show Library Folder’ and close the pop-up window.
- Open the ‘Library’ and click ‘Caches’.
- Select all the cache files and delete them permanently.
Similarly, you can check for other temporary and duplicate files and folders in the Library folder and delete all of them. Don’t forget to empty the Trash once you are done deleting the files.
Note: You may choose a third-party app to clean up your Mac system if you don’t want to do it manually.
Step 3: Download macOS Monterey Public Beta
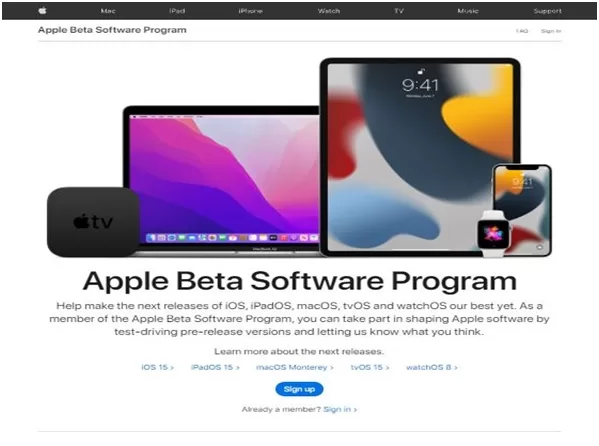
Visit the Apple Beta Software Program webpage and sign in using Apple ID. If you haven’t signed up yet, then use the sign-up button to generate your sign-in details. Once you have signed in, follow the steps below:

- Click ‘Enroll your devices’ and then click
- Download the macOS Public Beta Access Utility and select Run in the installer window.
- Once the enrollment is complete, click ‘Upgrade Now’in the Software Update
- As soon as the installation begins, cancel it immediately and leave the installer in your
Note: You will need a USB flash drive of at least 16 GB storage capacity.
Step 4: Create a macOS USB Installer Disk
Connect a 16 GB USB drive to our Mac and format it using Disk Utility as described below:
- Select GUID Partition Map.
- Select Mac OS X Extended (Journaled).
- Change the name of USB drive to ‘Installer’ and click ‘Erase’.
Leave the USB flash drive connected to your Mac and open ‘Terminal’ as defined below.
- Open the ‘Launch Pad’from the

- In the search box, type ‘Terminal’ and then select Terminal from the search results.
- Alternatively, launch ‘Finder’ from Dock and open Applications > Utilities and double-click Terminal.
In the Terminal, insert the following command very carefully and accurately (Copy and Paste is best course of action here).
| sudo /Applications/Install\ macOS\ 12\ Beta.app/Contents/Resources/createinstallmedia –volume /Volumes/Installer –nointeraction |
After inserting the command, press ‘Return’and enter the Admin password when prompted. Be patient as the Terminal takes a few moments to process the command.
Step 5: Clean Install macOS 12 Monterey from USB Installer Drive
Now, you are all set for the final and most important step. Follow the steps carefully:
- Plug-in the USB installer disk and Restart your Mac system.
- Hold the ‘Option’ key while the Mac restarts.
- A window with multiple booting options appears. Choose booting from Monterey beta installer drive.
- Disk Utility window appears with the option to erase your Mac’s SSD. Click ‘Erase’.
- Now just follow the instructions to clean install your all new macOS Monterey.
To Conclude
By following the above steps, you can clean install the macOS Monterey with ease. However, if by any chance you have lost any data in the process, which is quite possible, you do not have to worry. As mentioned at the beginning of this guide, you can use Stellar Data Recovery Professional for Mac to retrieve every bit of data that you lost.


